Wiki - Documentation
In order to upload your iOS app to App Store, you have to upload screenshots for this app on multiple devices sizes.
At least you need to upload screenshots of both sizes iPhone 6.5" Display and iPhone 5.5" Display.
Regularly, you have to open the app on multiple iPhone devices and take screenshots with specific sizes needed (A hard process to do it on your own ), then upload them to the App Store.
Note: You can't upload dummy screenshots for your app as all apps submitted to App Store are reviewed carefully by the Apple team. if Apple discovered that you uploaded screenshots not describing to your app, your app will be rejected.
Good News: Eduopus platform is smart enough to generate application screenshots automatically.
Generating iOS application automatically in the Eduopus platform is a process of 3 steps:
- You must have success build for this institute before. Please read this doc to build the application.
- Provided user login information to the institute ( Eduopus platform will automatically login & take screenshots using this account )
- Request screenshot generation
Provide user login information to your institute
You need first to write your web portal username and password of the admin account to help us to login into your application and take screenshots from inside the app. To do that, open the Eduopus console by tapping Eduopus Console on Eduopus.com top-right corner.
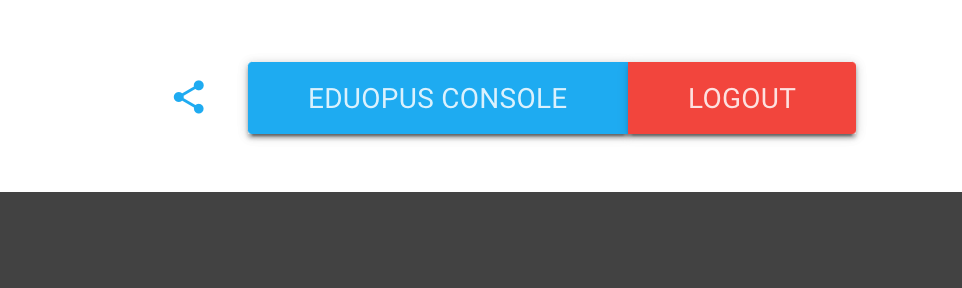
This will open the Eduopus console, where to find all your institute's controls and information.
Select Control institutes from the Left menu.
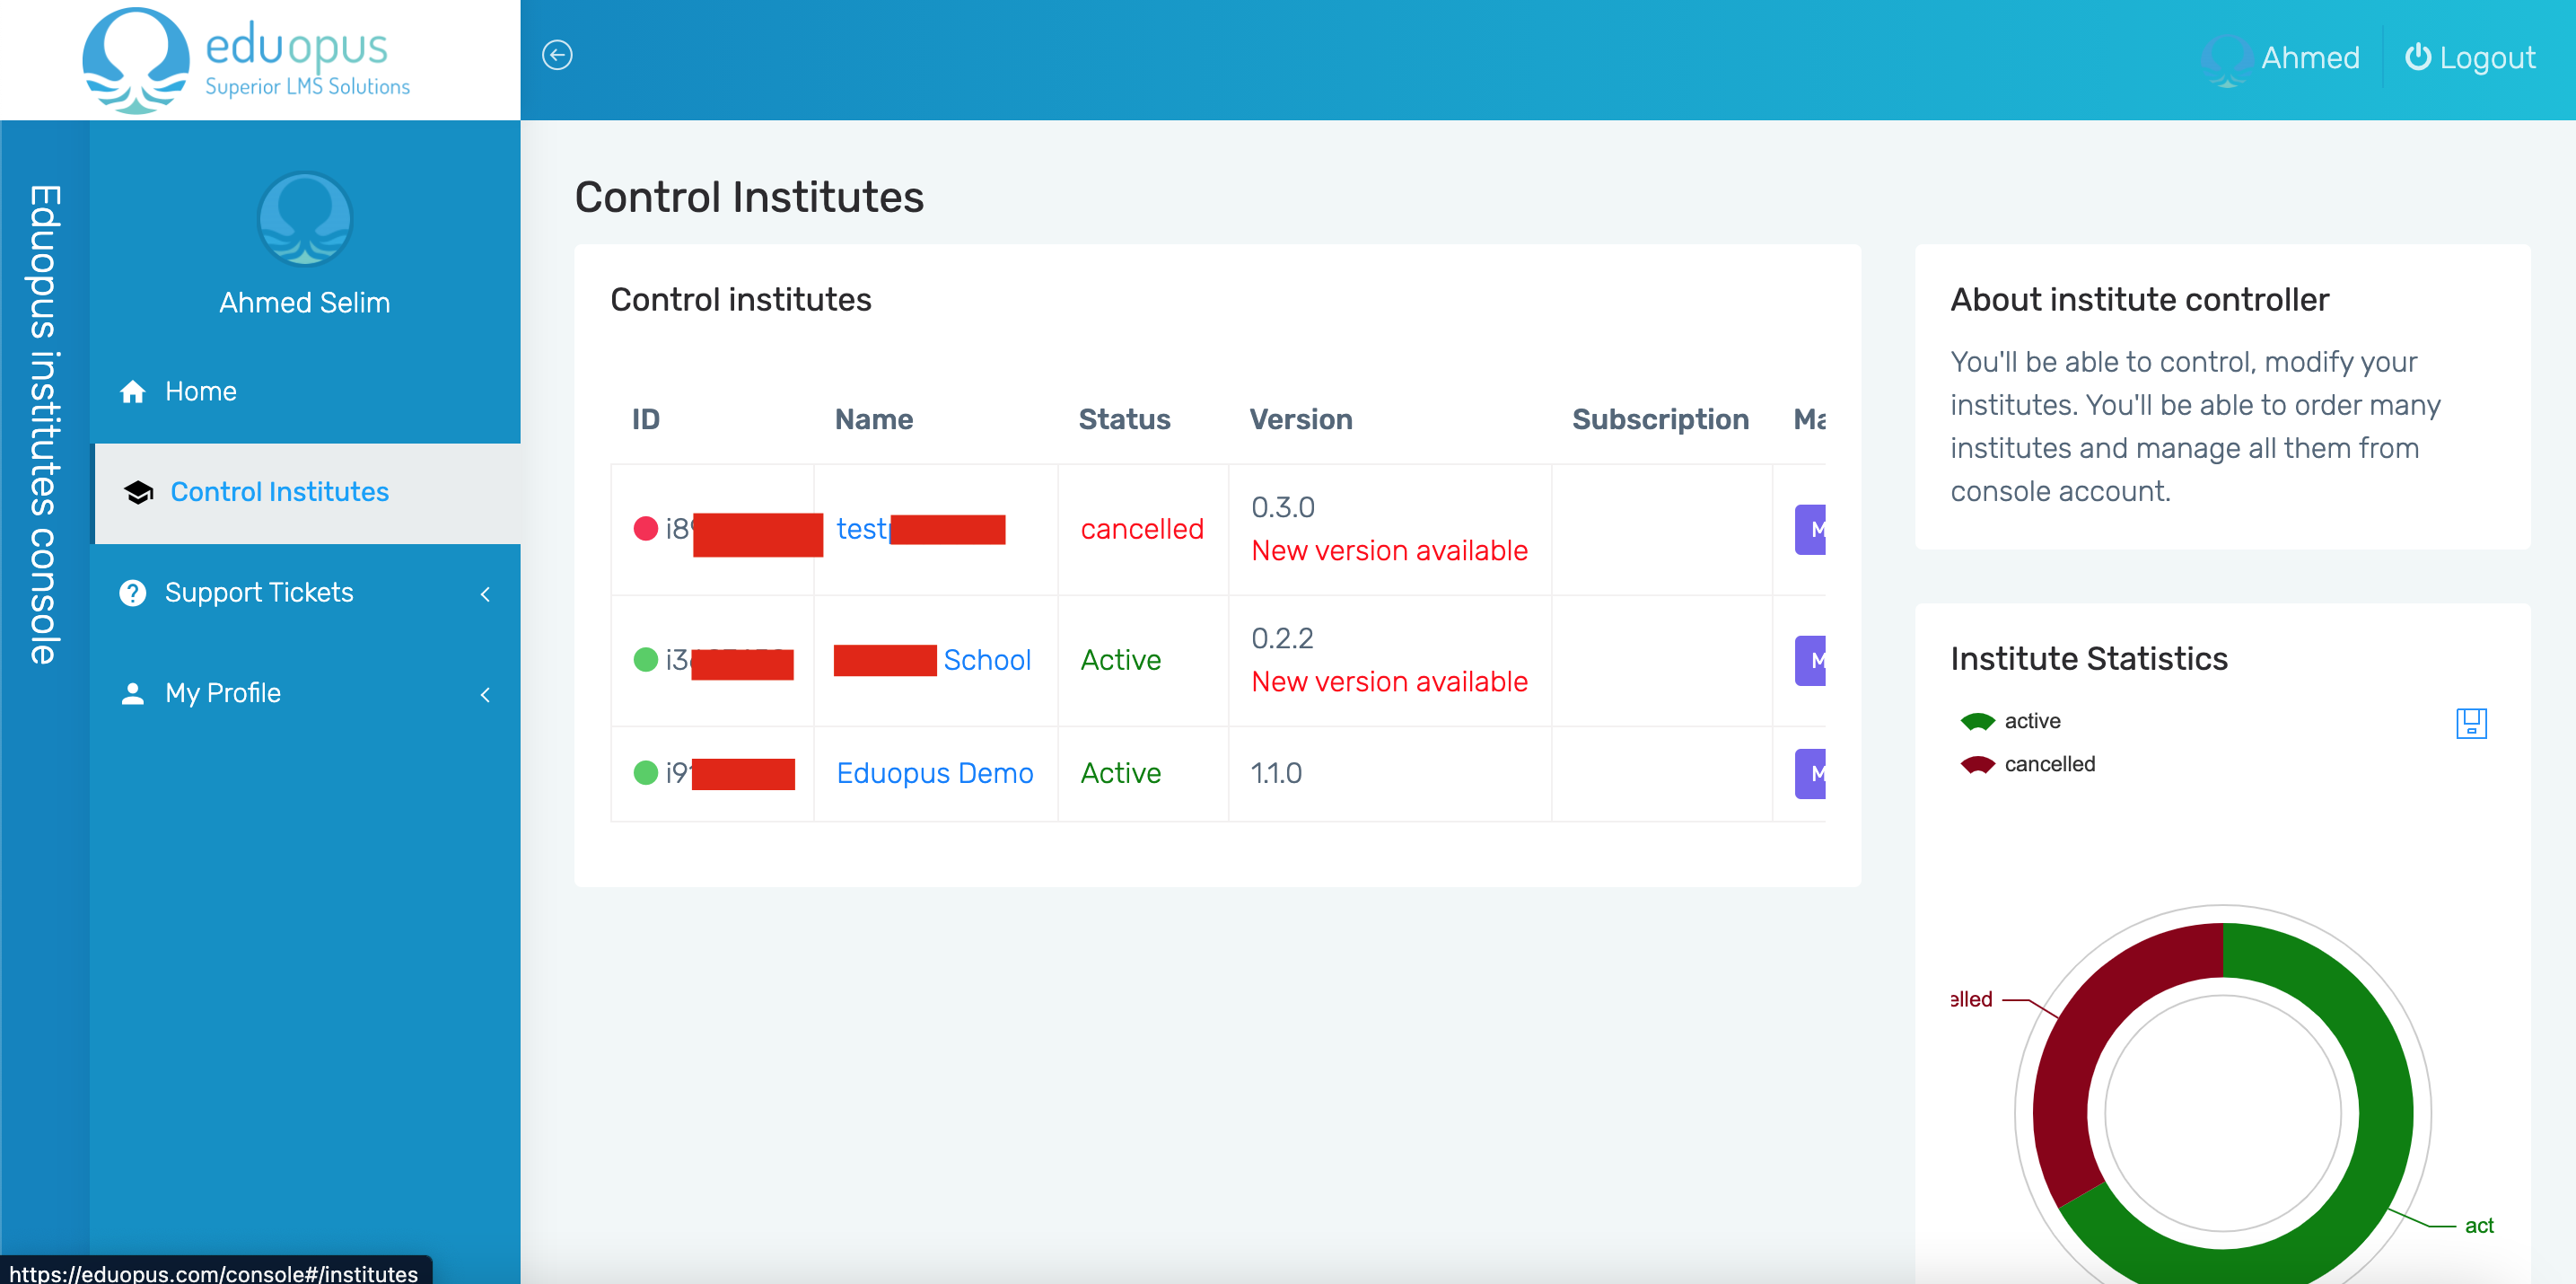
Besides every institute, you will find the Manage button to control your institute applications.

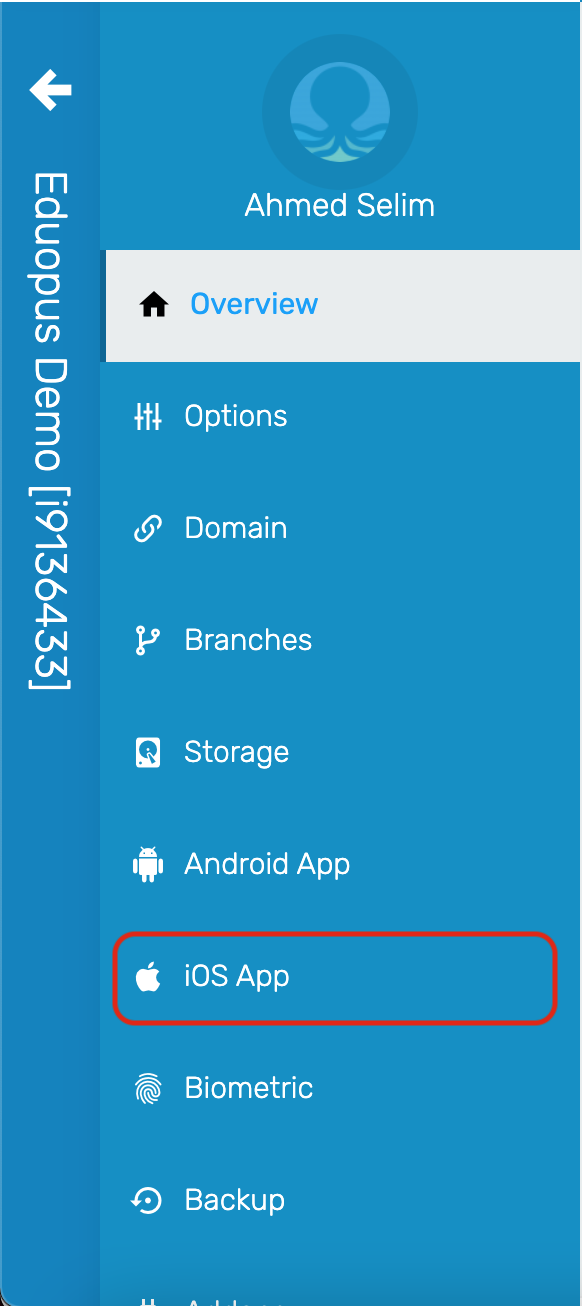
From the left menu, select the iOS App option.
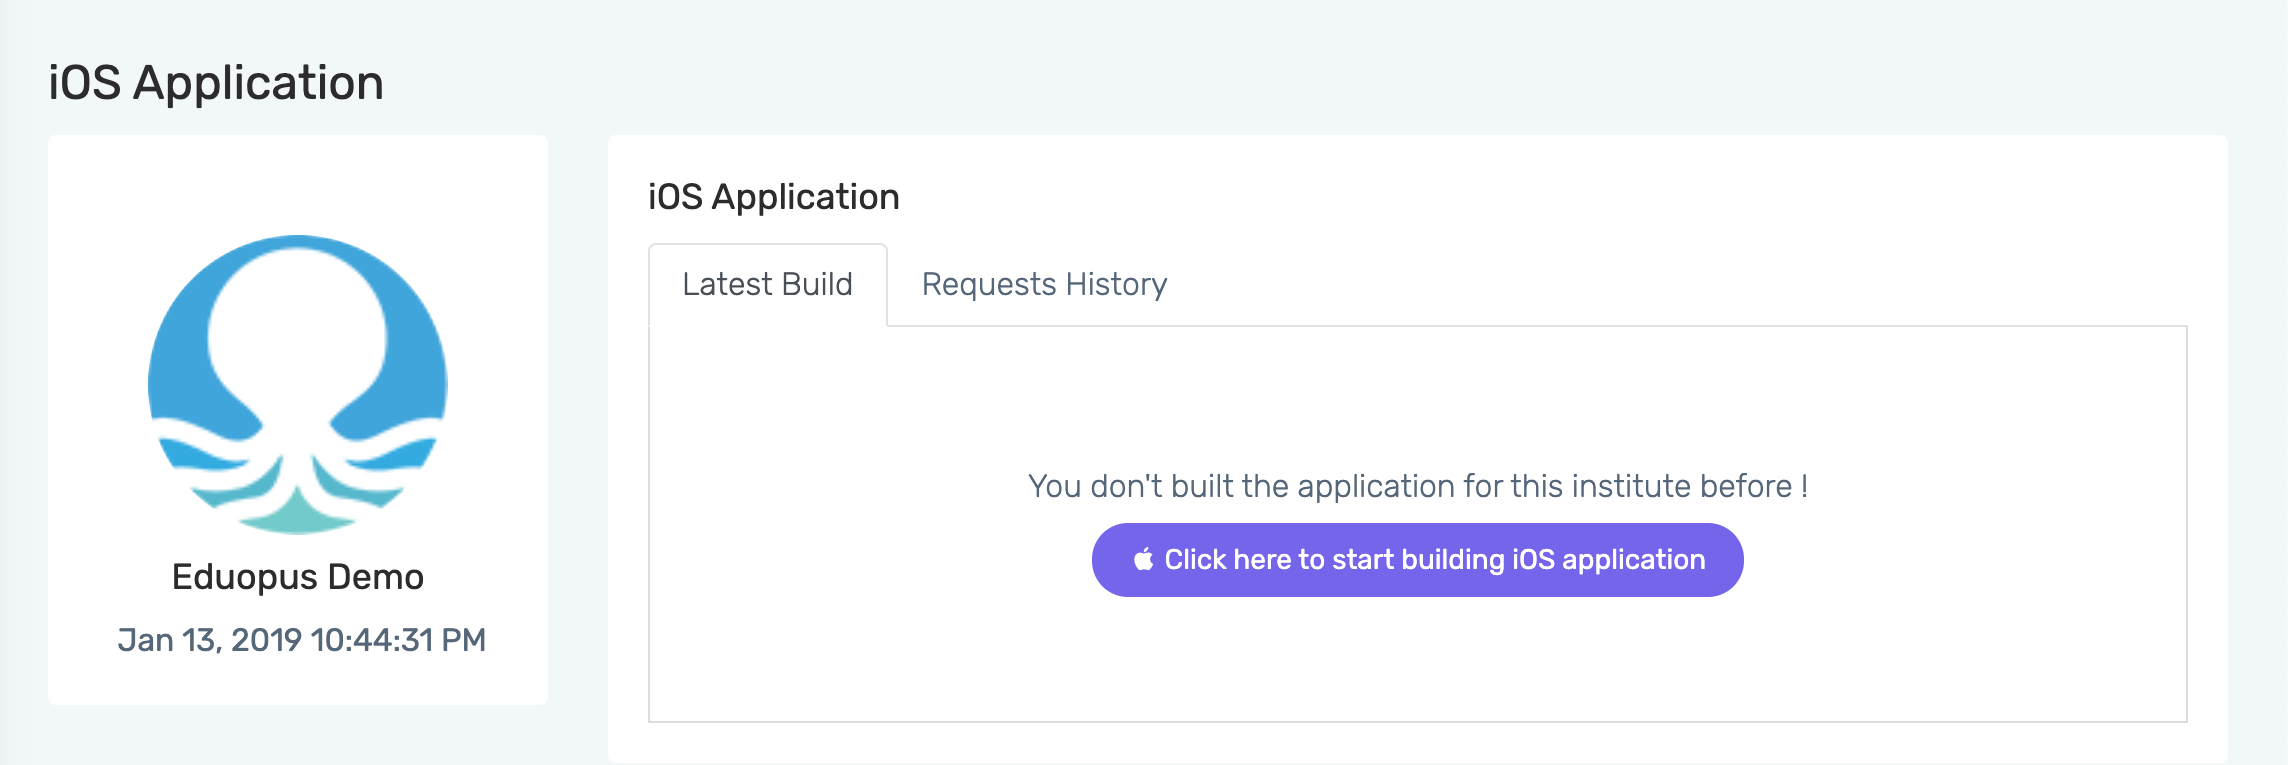
You will find two tabs, one for Latest Build to start and control your app builds.
When you need to publish your app to AppStore or update the current version on AppStore, you have to create an app build from our console to upload it to your AppStore account.
The second tab for Requests History where you can track your previous build requests to know more about build request status.
Click on Click here to start building iOS application.
You are unable to generate screenshots without having a successful build. Know more about steps to build an iOS application.
In case you already made a previous build, you will find your latest build information below.
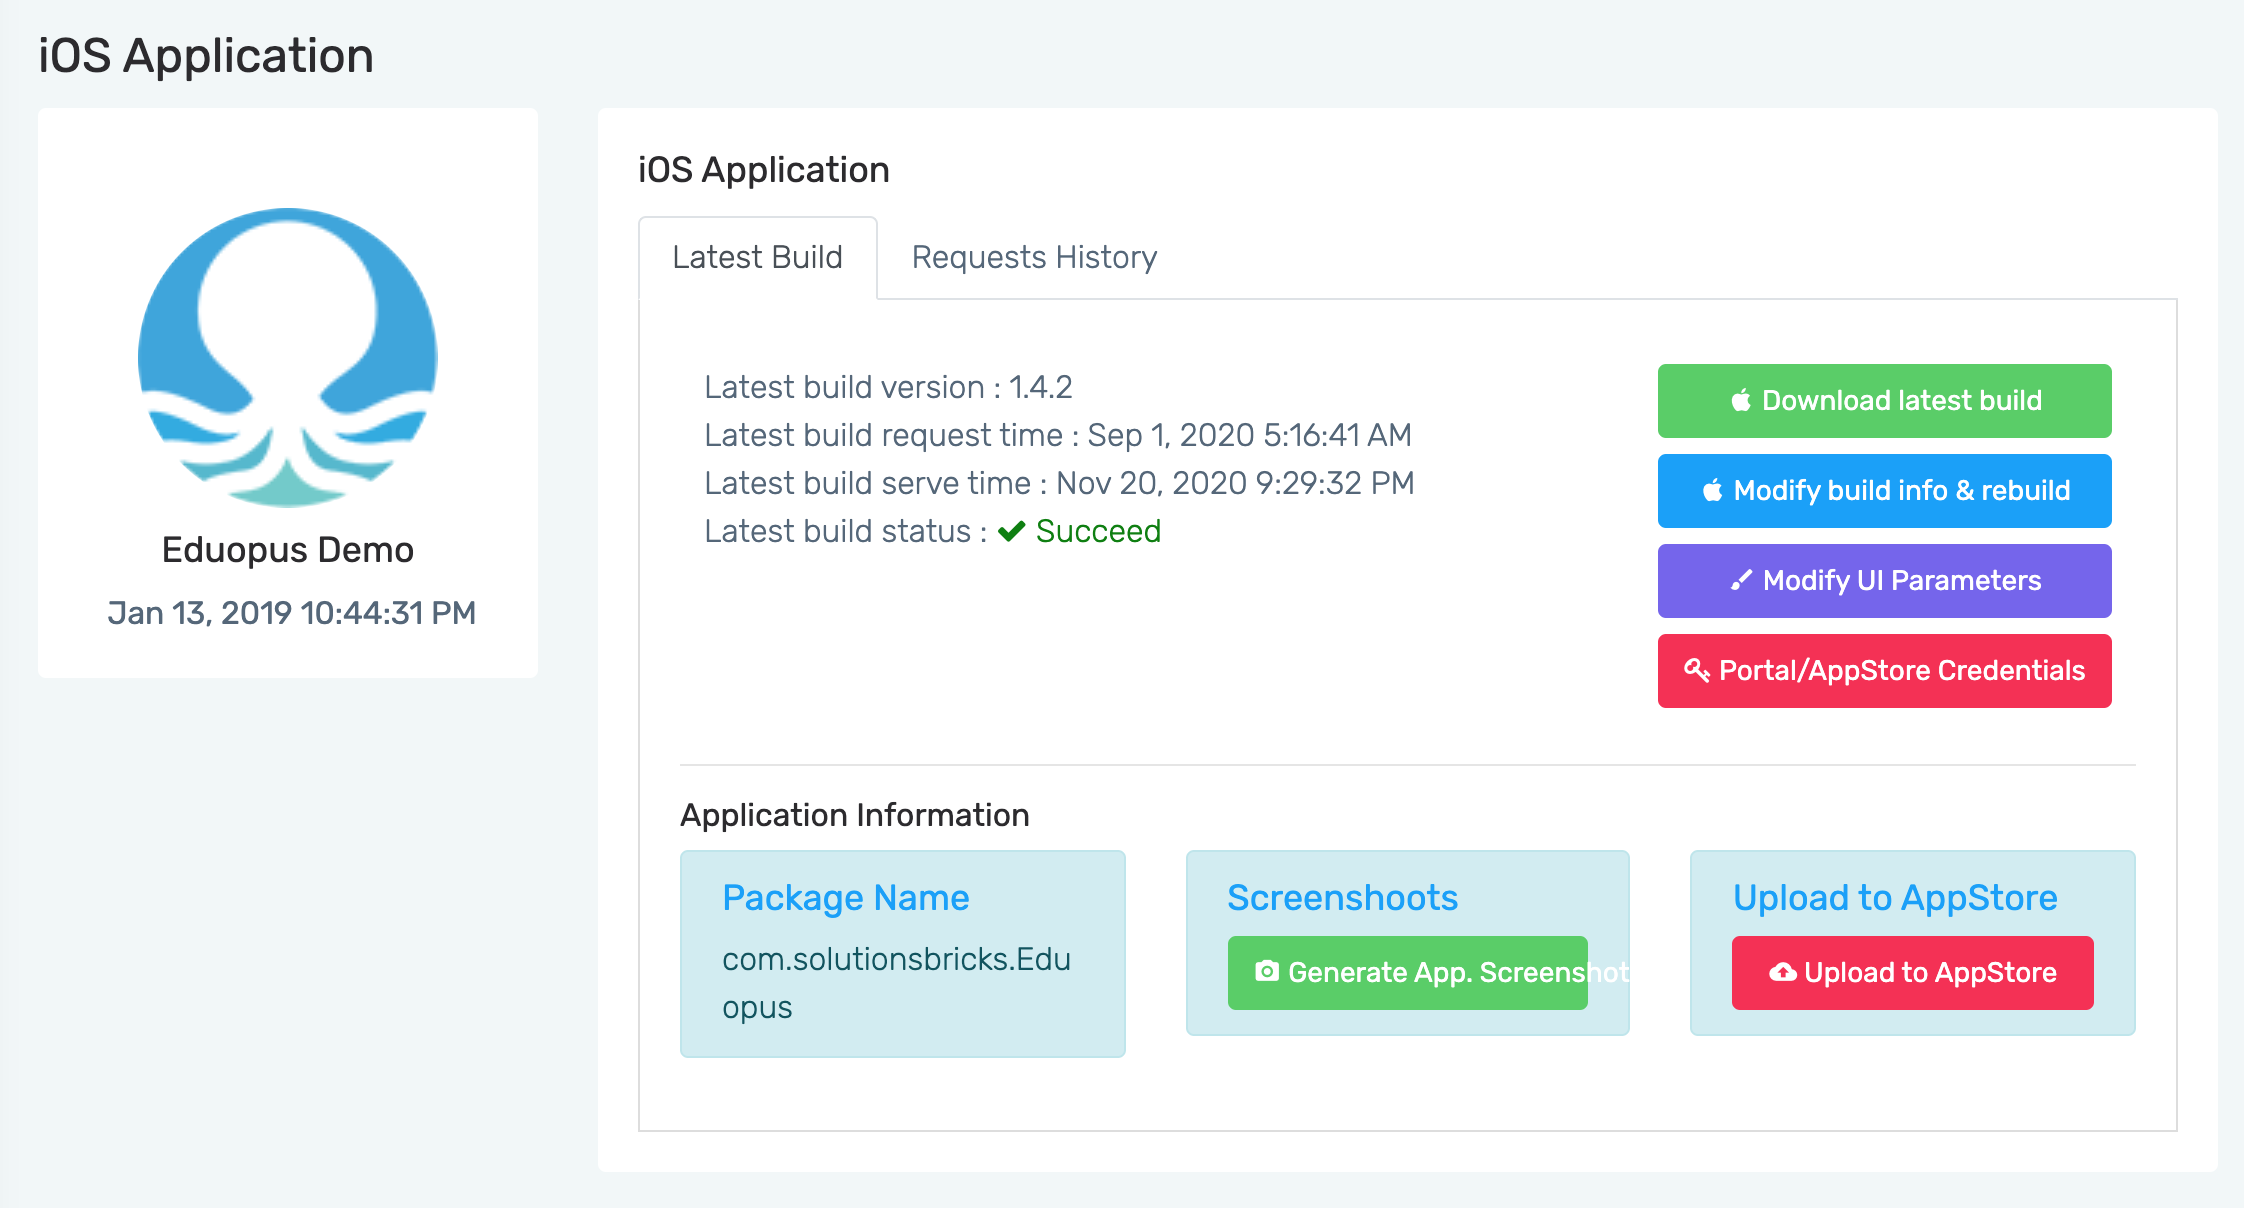
You have to add your institute and AppStore credentials to be able to generate screenshots as our system will login into your institute to take screenshots.
Click on the Portal/AppStore Credentials button.
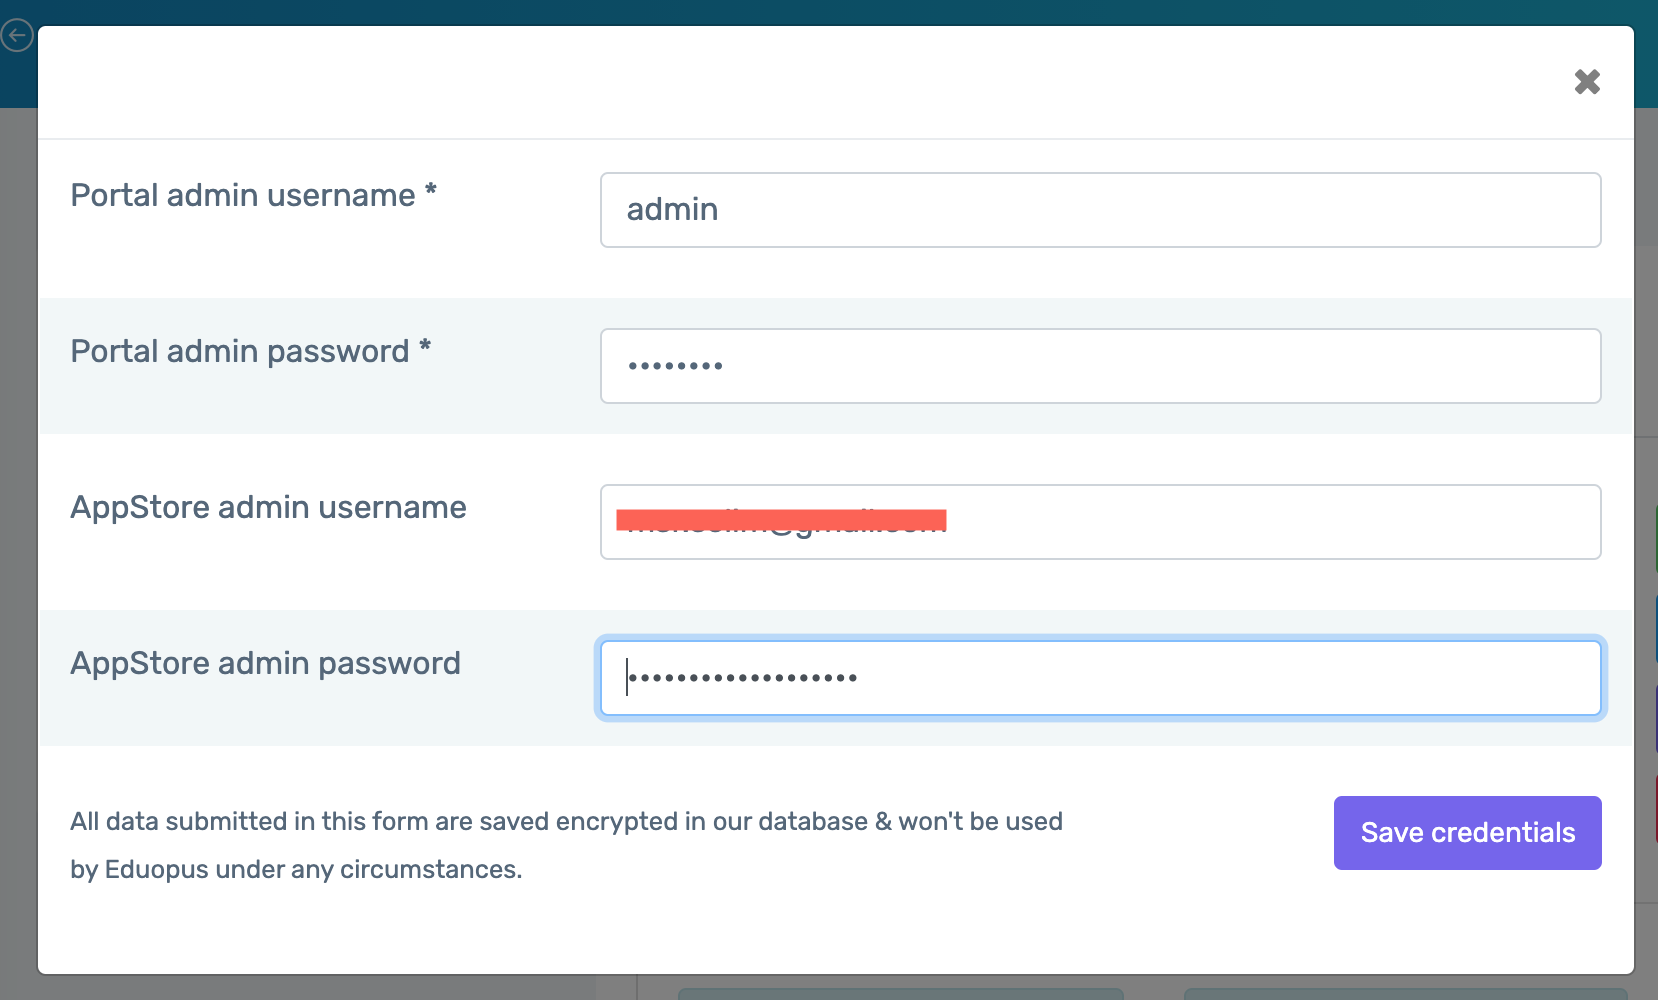
Then write your portal admin account username and password that you are using to login into your institute web portal.
Also, write your AppStore username and specific password for your account, a specific password is not your account password, the specific passwords are generated from your Apple id account. Read more about steps to generate a specific password.
All data submitted in credentials to Eduopus are saved encrypted in our database & won't be used by Eduopus under any circumstances.
Then click on Save credentials.
Then click on Generate App. screenshots button.
Now, our system will generate screenshots for you. Eduopus platform will start Screenshots generation. When it's completed, You'll receive a mail confirming that.
To download the generated screenshots. Go to Row: Generate screenshots. Then click on the green button "Download Application Screenshots"
This will open the Eduopus console, where to find all your institute's controls and information.
Select Control institutes from the Left menu.
Besides every institute, you will find the Manage button to control your institute applications.
From the left menu, select the iOS App option.
You will find two tabs, one for Latest Build to start and control your app builds.
When you need to publish your app to AppStore or update the current version on AppStore, you have to create an app build from our console to upload it to your AppStore account.
The second tab for Requests History where you can track your previous build requests to know more about build request status.
Click on Click here to start building iOS application.
You are unable to generate screenshots without having a successful build. Know more about steps to build an iOS application.
In case you already made a previous build, you will find your latest build information below.
You have to add your institute and AppStore credentials to be able to generate screenshots as our system will login into your institute to take screenshots.
Click on the Portal/AppStore Credentials button.
Then write your portal admin account username and password that you are using to login into your institute web portal.
Also, write your AppStore username and specific password for your account, a specific password is not your account password, the specific passwords are generated from your Apple id account. Read more about steps to generate a specific password.
All data submitted in credentials to Eduopus are saved encrypted in our database & won't be used by Eduopus under any circumstances.
Then click on Save credentials.
Then click on Generate App. screenshots button.
Now, our system will generate screenshots for you. Eduopus platform will start Screenshots generation. When it's completed, You'll receive a mail confirming that.
To download the generated screenshots. Go to Row: Generate screenshots. Then click on the green button "Download Application Screenshots"