Wiki - Documentation
As you may already know, a non-jailbroken iOS device is only able to run apps approved by Apple and installed through the App Store.
Apple achieves this by requiring that every app run by iOS has a signed Apple Certificate. Apps installed from the App Store come bundled with a certificate, which the system verifies before it allows the app to run. If there’s no signature or if the signature is invalid, the app won’t run.
That’s where the Certificates, IDs & Profiles area comes in.
Create Certificate:
1. Go to your App Store portal
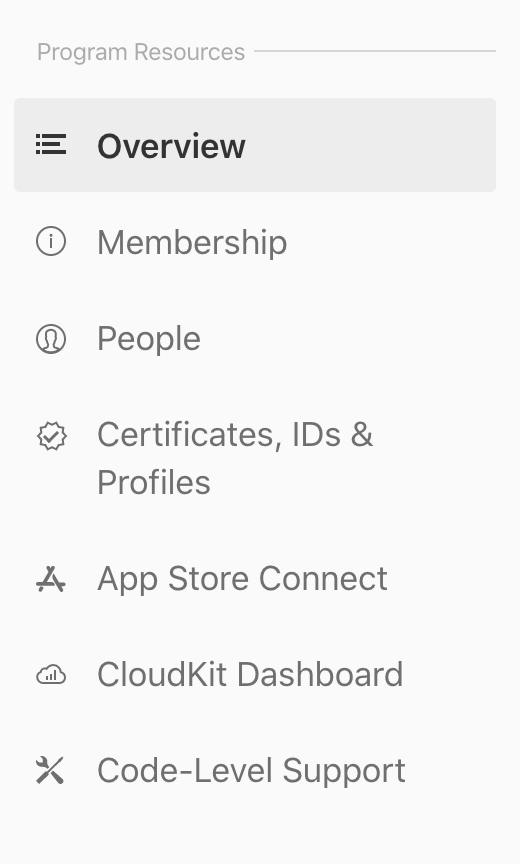
2. Select Certificate, IDs & Profiles from left panel.
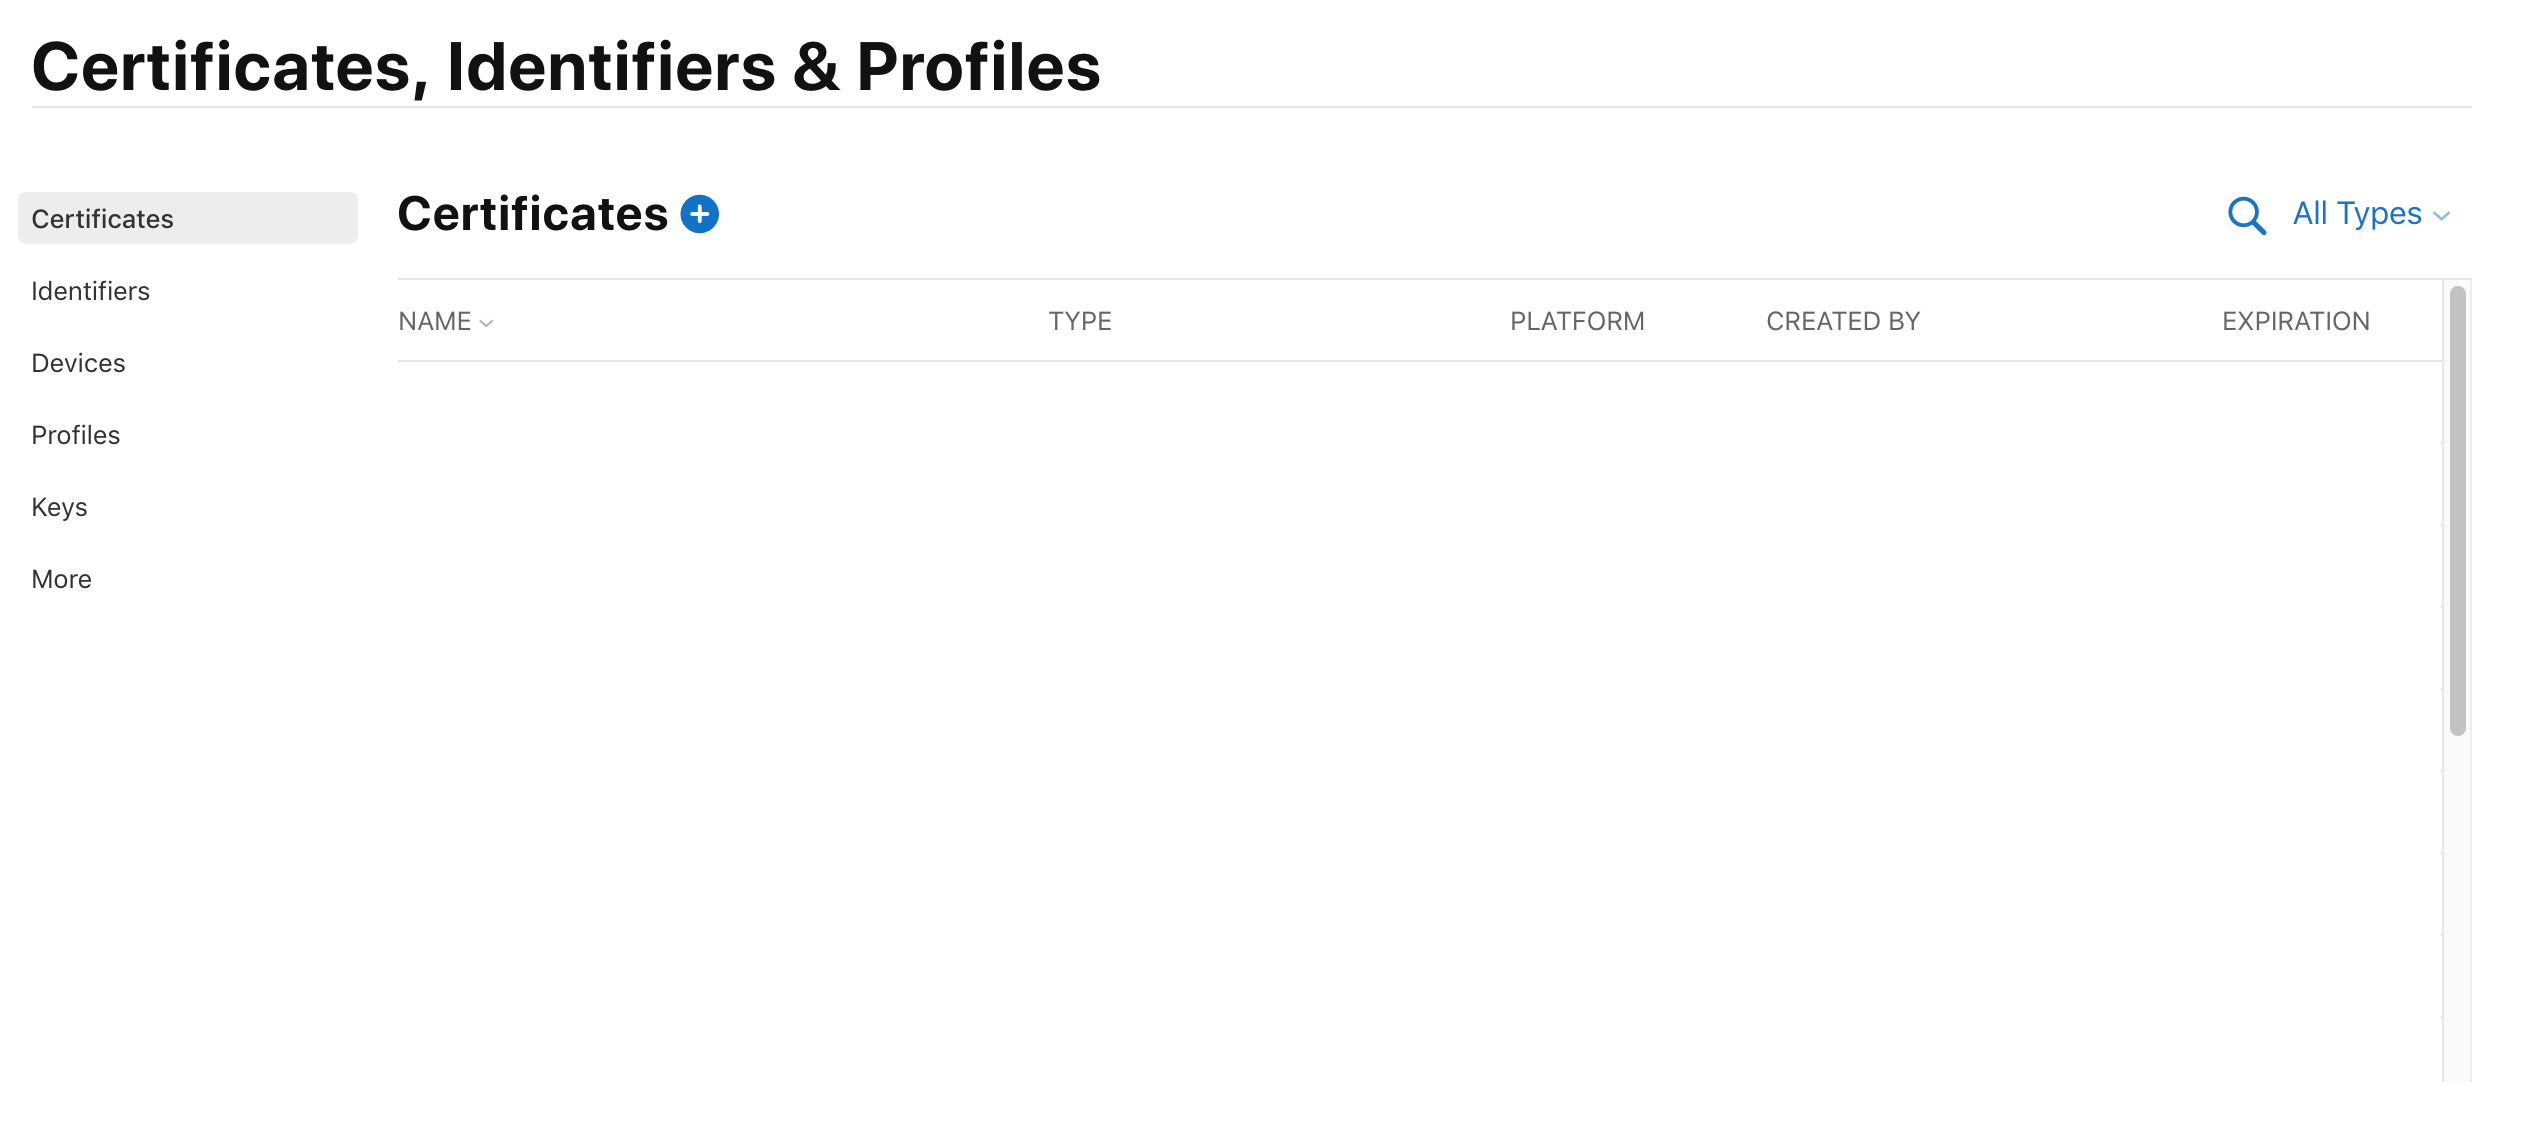
Click on the + in the upper:
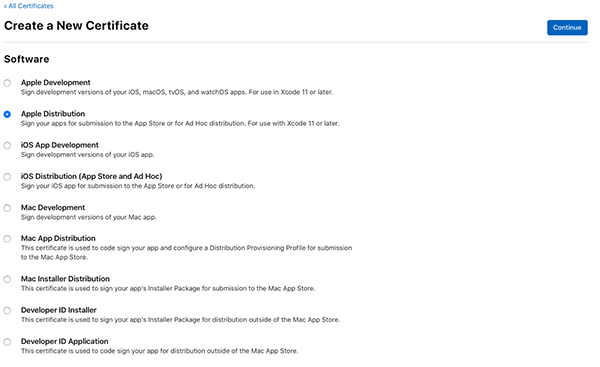
Select Apple Distribution, Then click Continue
You'll need to upload CSR file ( Certificate signing request ) & upload it to wizard, You'll have two options to get CSR file:
- In case you have MAC machine: Generate it using Keychain access application on your Mac machine.
- In case you don't have MAC machine: Contact our support team to send you one of our CSR certificates.
In case you have MAC machine: Generate it using Keychain access by following the below steps:
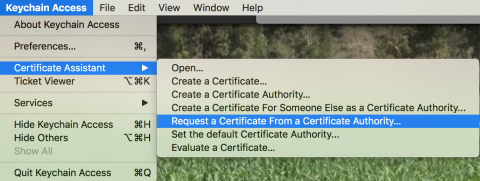
Once the program is open, choose Keychain Access\Certificate Assistant\Request a Certificate From a Certificate Authority…:
In the Certificate Assistant window, fill in your email address and name, choose Saved to disk and click Continue:
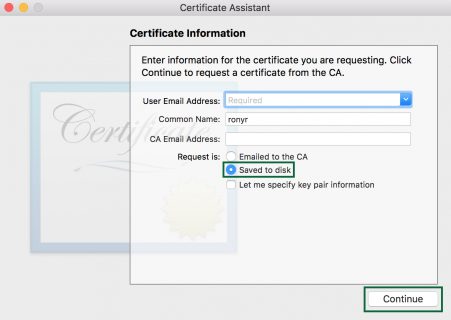
Save the file somewhere on your Mac. That’s your CSR created, now to generate that certificate.
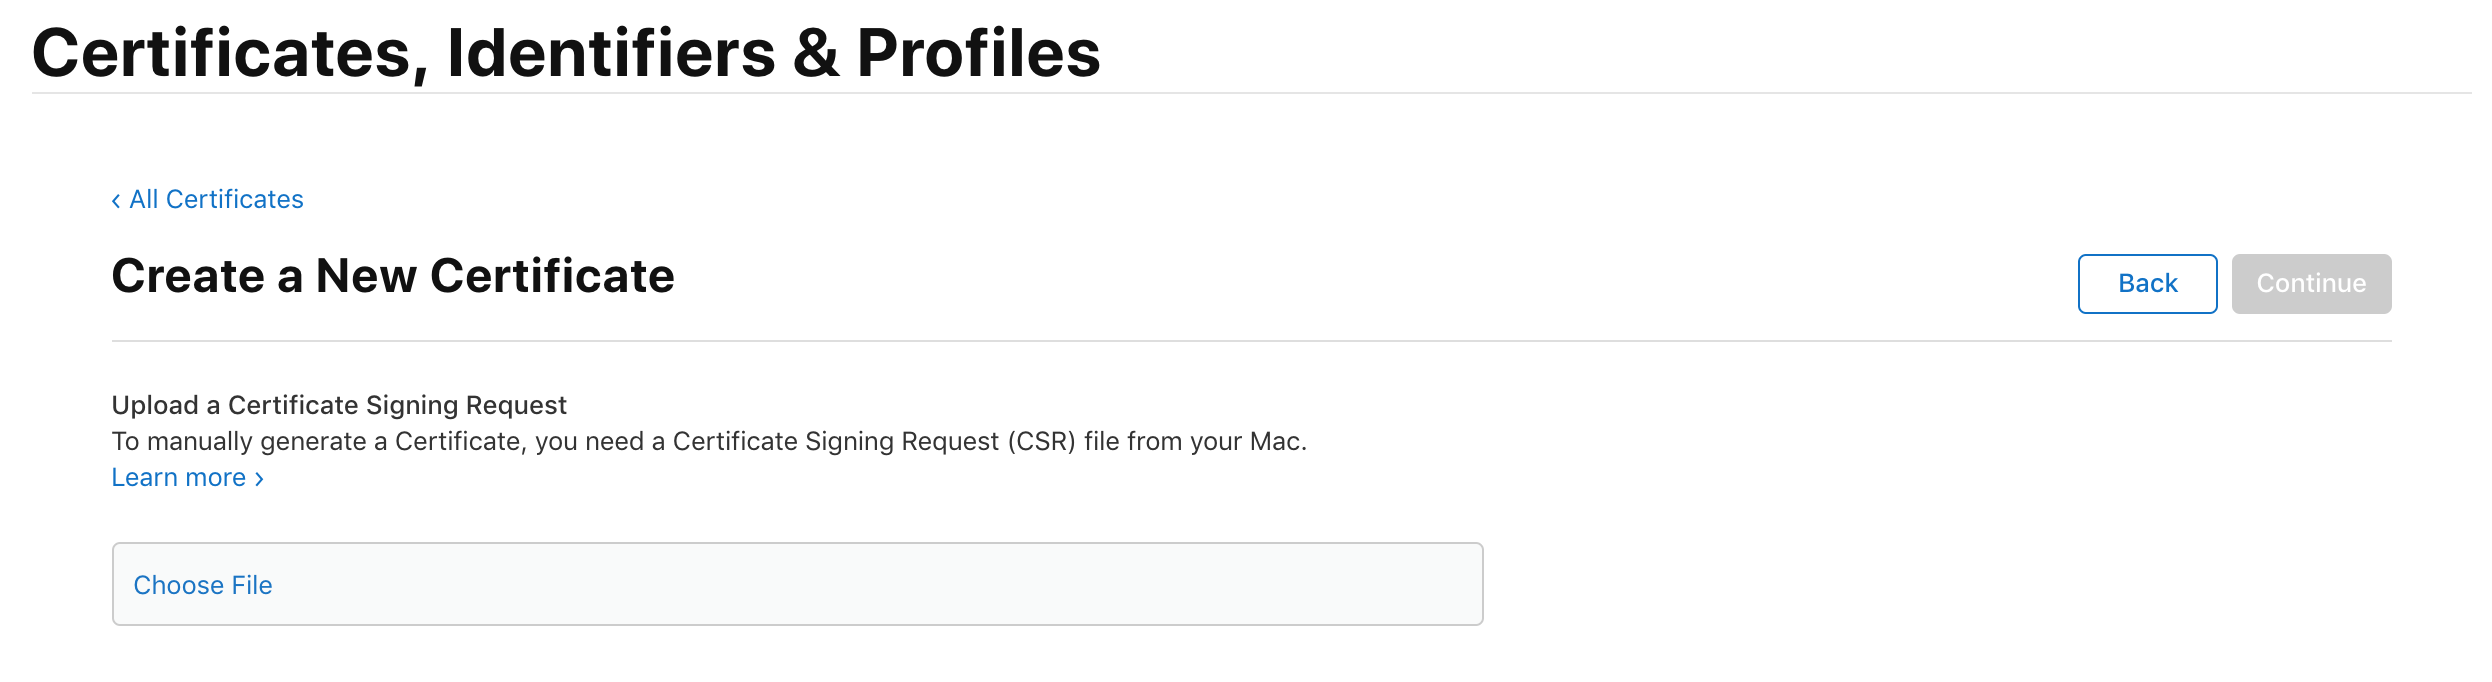
Go back to the Developer Center in your browser, click Choose File…, locate the CSR file you just created and select it, then click Continue.
You will now see a screen that says your certificate is ready ( ios distribution CER certificate ). Click Download, and double-click the certificate file to install it in the keychain.
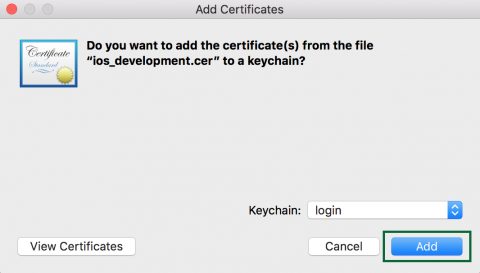
Click Add in the Keychain Access dialog to complete the installation:
Create a p12 certificate:
A P12 (certificate + private key), a .p12 file contains the certificates Apple needs in order to build and publish apps.
This p12 certificate generated using CER certificate, which we generated in the previous section, a distribution certificate (CER) identifies your team/organization within a distribution provisioning profile and allows you to submit your app to the Apple App Store.
If you don't have a Mac machine, continue with our support team on the previous ticket by sending this newly created CER certificate, our support team will create ( P12 certificate ) which is needed into our iOS app builder with some other additional files needed to get Eduopus iOS app ready.
If you have MAC machine, Please follow the below instructions to generate the P12 file.
iTunes Connect checks for this file when you submit an app and will only accept the app if it contains a .p12 file that matches what you have configured in your iTunes Connect account. So make sure to choose the proper CER certificate in the next section.
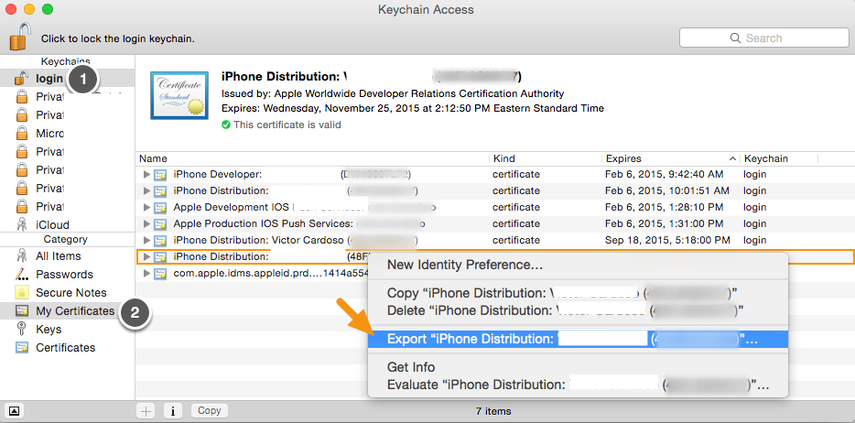
1. On your Mac, launch Keychain Access, select the certificate entry you added on the previous section and right-click on it to select "Export."
All certificates you have installed will be in the "login" keychain (Label 1) under the category "My Certificates" (Label 2).
It will have the name "iPhone Distribution <firstname> <lastname>" and will expire one year from today's date.
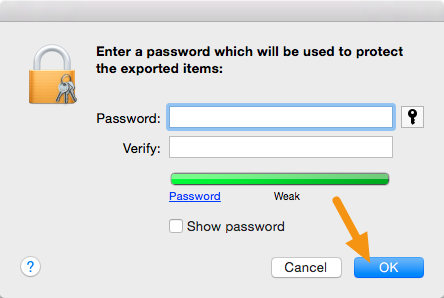
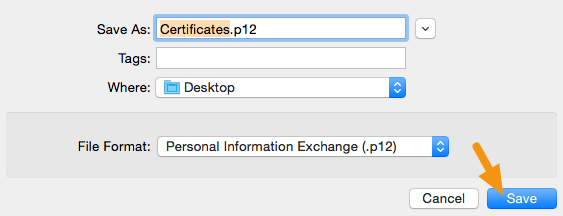
2. In the window that appears, make sure the File Format is set to "Personal Information Exchange (.p12)" and click on "Save" to save it to your machine.
3. When asked for a password, write a password ( This is an important password as you'll be asked for it later in our online builder ). Then press "Ok."